pink

Showing posts with label Tim Holtz. Show all posts

Wednesday, March 14, 2012

Smash Book part 11

Oh do I have a discovery to share with you! While heat drying my Gesso on the first page, it started to bubble up. I *LOVED* the result and the texture! just get the heat tool up there close without touching and it will bubble for you. It might even pull up on the paper and start to force the paper to crinkle up. That's ok! If it's too sticky after it's dry then spray with a matte finish.

I sprayed with a brown and a red in Glimmer Mist and then went over my page with Gesso before the GM could dry. Then I took the heat tool to my page:


I thought since the other page worked out so well I would try something similar but with Distress Stains. I covered my paper with Distress Stains (Walnut) in sections and went over each section with Gesso before the Distress Stains could dry. Then I did the next section and repeated what I previously did. While the Gesso was still wet I managed to get a few pieces of scrap ribbon in place; however, I ended up gluing the rest of the scrap pieces: 

This one I tried an old Tim Holtz trick. First I covered my paper with Distress Stains, then I took some red tape and put "stripes" on my paper. Sprinkle some embossing powder, heat, and voila!:


Ok, by this time I had to go tame because I was afraid between the Gesso and embossing powder, if I did anymore heating before my matte finish spray arrives that my previous 3 or 4 pages would start sticking together! so I took 3 bright Glimmer Mist colors and sprayed! Then I went around the edges with a brown:


While doing the above page I realized there was some dried Gesso on the paper which reminded me of something. Come back tomorrow to see what it reminded me of...

Freda

.

Friday, March 9, 2012

Smash Book part 7

I had fun with today's pages. First up is a page with Glimmer Mist and Pearl Mist:


Glimmer Mist and Glim Glam: 


Distress Stains and Glim Glam: 


Distress Stains and Smooches: 


Be sure to check back tomorrow! I have some interesting pages to share! :-)

Freda

.

Thursday, March 8, 2012

Smash Book part 6

Sorry for the delay! I've been sick with a cold all week!

The first pic I attempted the ol' lemon juice trick many of us did as kids. To heat, simply use your heat tool. Yes, I know lemon juice is acidic and we try to go with acid free techniques. But I will spray with Krylons "Make It Acid Free" and hope for the best! The left side came out, but the right side not, really. Still, I love the effect:


Torn pages of an old dictionary and inked with Walnut Stain distress ink:


Burlap from Canvas Corp. It comes in two 12x12 pieces sewn together. I separated the two pieces and cut the one so it would fit on my page. There was a little bit of space so I put some more dictionary page pieces in there. I didn't know what I was going to do with the burlap when I began so the dictionary page pieces provided some inspiration. Next, I got out a used piece of my Tim Holtz letters and used it as a mask and sprayed with Glimmer Mist:

Next is canvas, by Canvas Corp. It comes the same way as the burlap discussed above. Only this time I used a scrap piece of DCVW paper with white core I had in my personal stash. It was already punched, Fiskars Leave it to Weaver, which made it all the more ready for me. It was screaming "please use me"! Originally I tore it, but when I saw the white core, I thought 'nah'. Now I wish I kept it that way.

I used a Martha Stewart punch to create a mask for the right side and sprayed with Glimmer Mist using a piece of paper to cover the left side so it too did not get sprayed. That's why I wish I went with my first impression: to tear the paper with the white core because the white core would have gotten colored by the spray. No worries! I can still do that on another page.

Anyway, before the ink could dry I laid a paper towel over it and used my brayer to soak up the excess ink for a soft look. The paper towel bunched up on me which created a look I'll have to try on another page; an unintended consequence, lol. Hmm, maybe I'll go back with my Un-du and try that paper part again (tearing the paper):

thanks for looking! Check back tomorrow!

Freda

.

Friday, March 2, 2012

Smash Book part 5

Here is today's edition! This book is coming along beautifully! The photo below is of my page using acrylic paint. I was going for the shabby chic look:


Acrylic paint and paint dabbers: 

Distress Stains and water. The image on the flip side of the right page is seeping through. Sigh!: 

Distress Stains and pigment ink on an over-sized Sizzix embossing plate: 

Check back tomorrow for more! This album will be finished before you know it!

Freda

.

Thursday, March 1, 2012

Smash Book part 4

Hello everyone! sorry about my silence the last few days. It's been quite busy lately between orders and personal stuff.

Anyway, below are photos of the next few pages of my Smash Book.

Glimmer Mist, Gesso and torn out pieces from a magazine:

What I do when I make a mistake...unwanted scrapbook paper, lol. But I distressed the edges: 

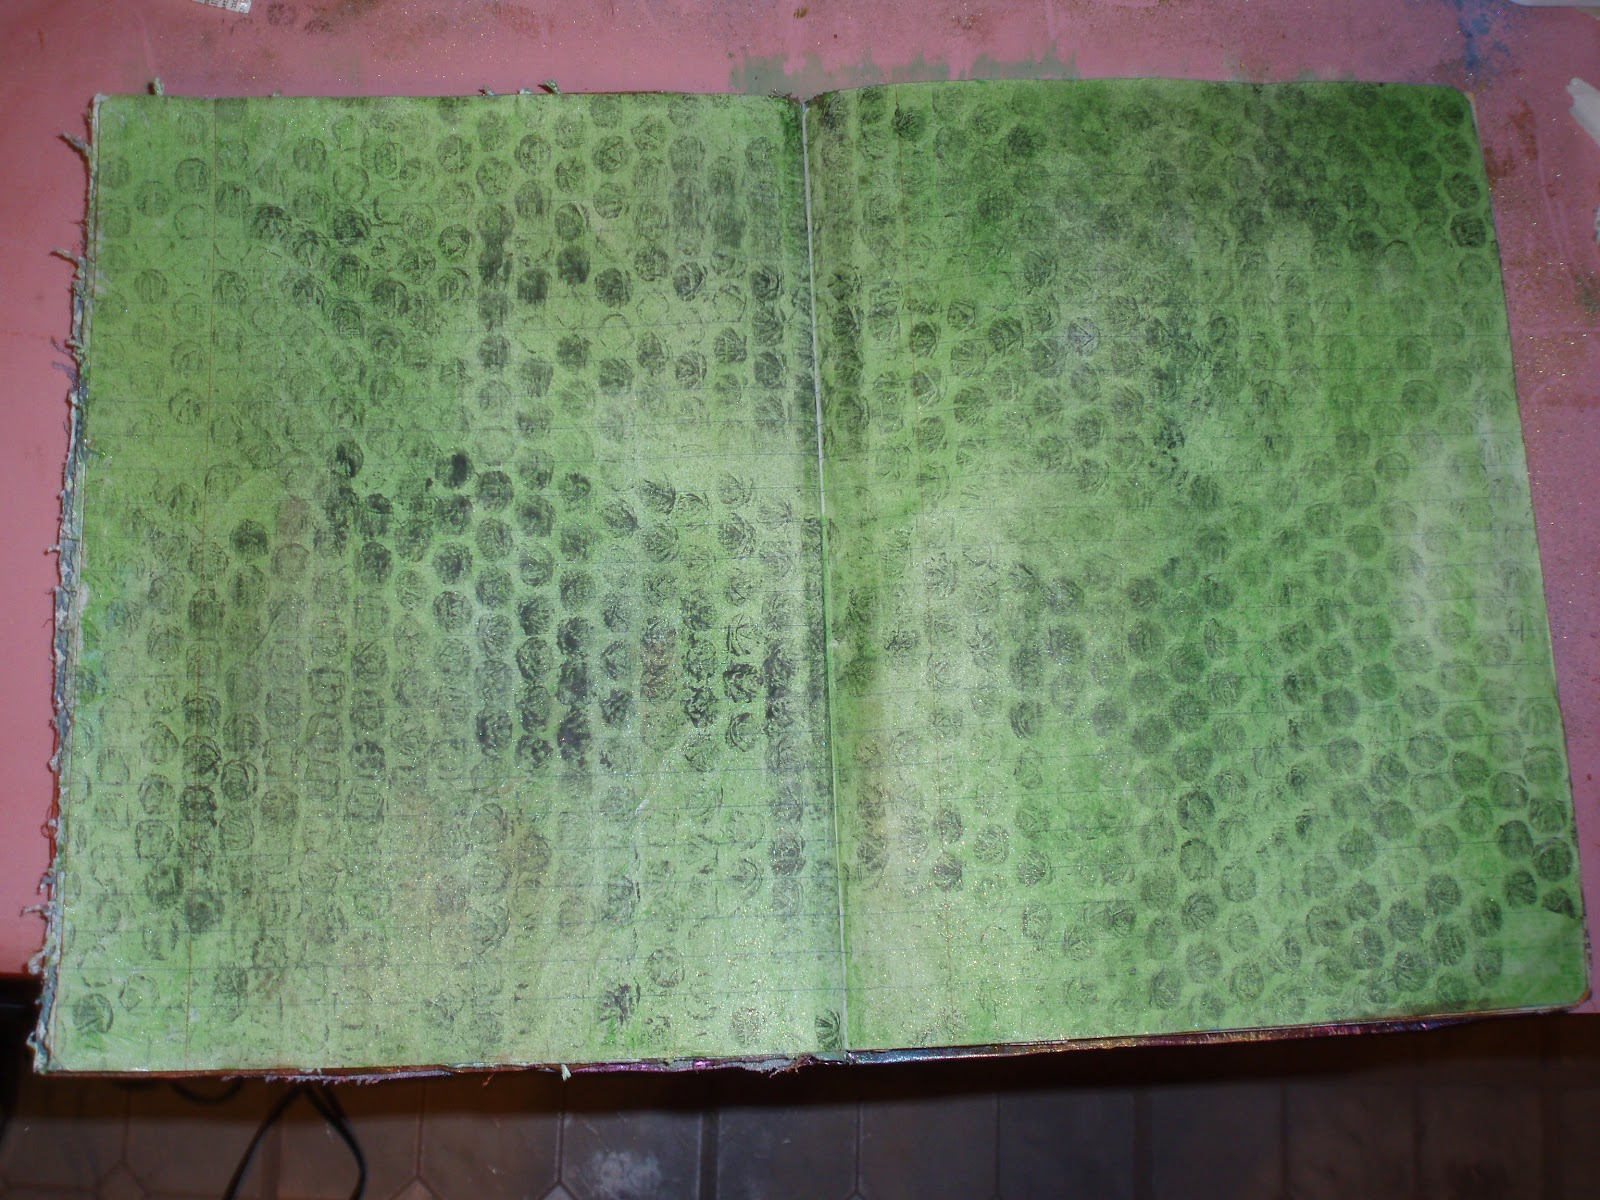
Gelatos, glimmer mist and bubble wrap with Color Box pigment ink:

Perfect Pearls and Distress ink (on edges). Hmm, this one did not come out as well as I hoped. But there was an unintended consequence: everywhere I stamped perfect medium it shows:

And that's it for today! Check back tomorrow :-).

Freda

Sunday, February 26, 2012

Smash Book part 3

Wax paper resist:


Distress Stains (Marmalade) for the base, then I put a stencil over my project and inked with the same color in Distress Ink:

3 Different shades of Distress Stains on a paper towel. Horrible blending job but I tried:

This one might be hard to see. I sprayed using my choice of color with Glimmer Mist, laid a paper towel over it, then a brayer pressing down very hard, and lift. You can barely see the little dots from the paper towel:

More tomorrow! Thanks for looking! :-)

Freda

.

Saturday, February 25, 2012

Smash Book part 2

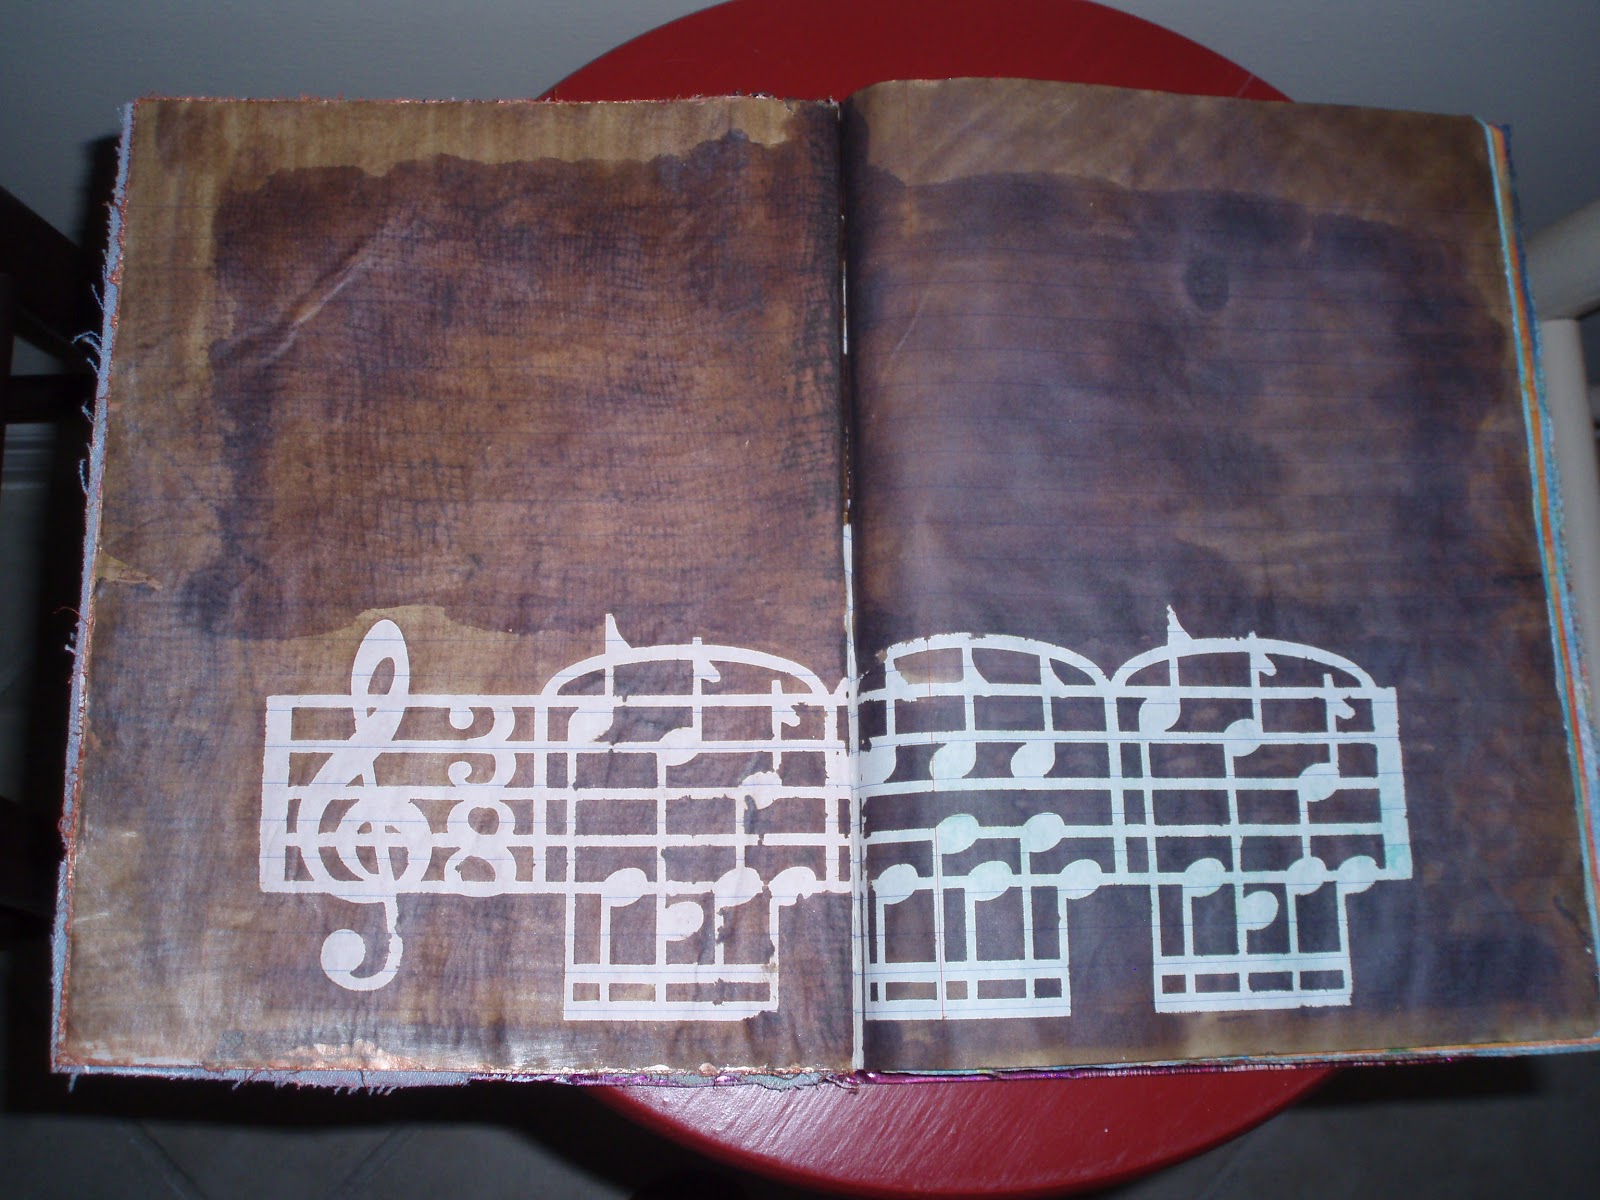
Glimmer Mist and a Mask. You can see where the music staff, as well as some of the Distress Stain on the opposite page, is bleeding through:

Embossing as a resist:

Wax paper crumpled up and dabbed in Distress Ink that I spritzed with water:

Faber Castell gelatos:

That's it for today! Check back tomorrow! Glad you are enjoying the show :-)!

Freda

.

Friday, February 24, 2012

Smash book pages: part 1

Sorry! I got busy with all that Zen Cart stuff that I neglected projects! Serious multi-tasking lately. Ok, so here it is, so far. Some of the first pages of the Smash Book project. The first pic is using Denim. Kind of blah but I've been wanting to use denim (an old pair of jeans) on something:


Dictionary page, Gesso, and Acrylic paint: 

Cheese cloth (used Mod Podge to adhere) and Acrylic paint: 

 Distress Stains and a mask:

One thing I learned is, working with a composition notebook, and the loose leaf paper inside, there's a lot of bleeding. But it adds to the character of the album so I'm not complaining. :-)

More pics tomorrow!

Freda

.

Thursday, February 23, 2012

My Alcohol Ink experiment

First I started with an empty can of my favorite chocolate. Unfortunately, Ms no longer sells the tin cans I want. I heard HL has them so I will check next time I'm out that way. These cans will do for what I want, but in the meantime I thought I would see how well Alcohol Ink will cover up the print:


I chose my first weapon:


Hmm...not quite. Nice tint but I want the ink to cover everything: 


Tried a darker color: 


Sigh...


Even darker (and fingers crossed): 


Grrr!


Now I've pulled out the big guns, BLACK:


Needless to say, I will not be painting my can black. I bought 3 cans of Pirouette with the intent to do a shabby chic look on them with old paper I have stashed away. Stay tuned!

Tomorrow: back to the Smash Book project.

Freda
.

Thursday, February 9, 2012

CHA Winter 2012 Booth Decorations: Ranger

You know I had to save the best for last! What's a trip to CHA without stopping at the Ranger booth! I just love how their artists and designers come up with really cool examples on how to use their product. I also learned a little something about the Melt Art - something I will share later in the form of a tutorial.

For a while, when I saw the mini-version of some of Tim's dies, I was thinking "so?" But now I get it. TAGS! CARDS! ATC's! and other cool stuff!


Now that I'm home, I plan to start duplicating some of these tags. Maybe not exactly, but at least in concept. More than likely, several will have my own twist only because I'll get hit in the head with a major idea while working on them.

Hmm...I just got a great idea at this typing. I think I'll take some of my favorite lyrics and apply them to ATCs
and tags. Stay tuned!

Freda

.