pink

Showing posts with label distress ink. Show all posts

Monday, April 2, 2012

Smash Book part 19

This first one may look familiar and that's because there is a similar page, but not with the dictionary paper. I definitely like it much better with dictionary pages. Inked with distress stains, heat dry, and gesso. Sprayed a yellow tinted glimmer mist (very lightly):


More dictionary pages with my tropical colors: pink, yellow, orange and lime (all distress ink colors). I also did it the "old fashioned" way: ink my craft mat and spritz with my mini-mister. Finally, inked the edge of my page for a cool distress look. Your project isn't complete unless you have an inked edge:


Just a page with a bunch of flowers and inked edge. However, stay tuned for another flower surprise (tomorrow) inspired by a man's shirt (of all things!):


First I sprayed the center with brown tinted glimmer mist, then an orange, red, green. Next I took a can of vienna sausage and pressed into my ink pad and then pressed all over my page:


Come back tomorrow for some  more fun! :-)

Freda

.

Sunday, April 1, 2012

Smash Book part 18

With this first page I attempted some clear UTEE with stamping. The base is acrylic paint. Sorry about the glare but it took me so many attempts with the camera to get a shot that wasn't completely blinded by the flash and it would not come out without a flash. Sigh!:


You might recall a couple of days ago that a table top at my favorite Mexican Restaurant inspired a similar page. Well, Steak n' Shake inspired this one:


With this page I colored with distress stains, crumpled up the paper, unfolded, then rubbed distress ink over the raised parts, spritz with my mini-mister, and iron to flatten and dry:


With this final page for today, I rubbed distress stain on my craft mat, took my paper and did a sloppy accordian fold, and let the paper soak up the ink. Next, I used a craft iron to flatten and dry, sprayed with a brown colored glimmer mist color, heat gun dry:


We're getting there! Just a few more days of photos and techniques!

:-)

Freda

.

Saturday, March 31, 2012

Smash Book part 17

I'm loving this first page! Acrylic paint with gold embossing powder:


I took an embossing folder and rubbed black soot distress ink using my ink applicator. Then spray gently with a red hue of glimmer mist:


With this one, I went for the plaid look with my distress stains: 


Distress Stains, crackled paint, and distress ink:

Come back tomorrow for more! :-)

Freda

.

Friday, March 30, 2012

Smash Book part 16

Are you ready for some more? This one I used my choice of Distress stains and sprayed a little with Glimmer Mist while the Distress Stains was still wet so it would all blend in a little. Then I tore strips of paper and laid one over the other to use as a mask. Next, spray with a darker color in Glimmer Mist. Dry. Stamp (with the paper still on as a mask) with a script stamp of your choice. Finally, give it a good coat of Glim Glam:


I have these Fleur de Lis stamps in my collection so I decided to do something French. The colors are from Distress Stains and acrylic paint. Unfortunately the White Picket Fence Distress Stains did not coat the paper well enough for the look I wanted. So I used acrylic paint instead for the white:


Ah! This one, believe or not, was inspired by a table top at a local Mexican Restaurant. Done entirely with acrylic paint and stamps. Basically the process was paint, dry, stamp, dry, stamp. This photo looks better in close up and even better in person:


I also have a ton of flower stamps. Distress Stains was my background:


Tomorrow I have a couple of surprises for you!

Freda

.

Thursday, March 29, 2012

Smash Book part 15

Today I played around with my embossing powder a little bit. The photos don't really do the pages any justice;  you really need to see them in person and feel. The first one is with acrylic pain, inked stamp, and using a stencil on the edge with embossing powder:


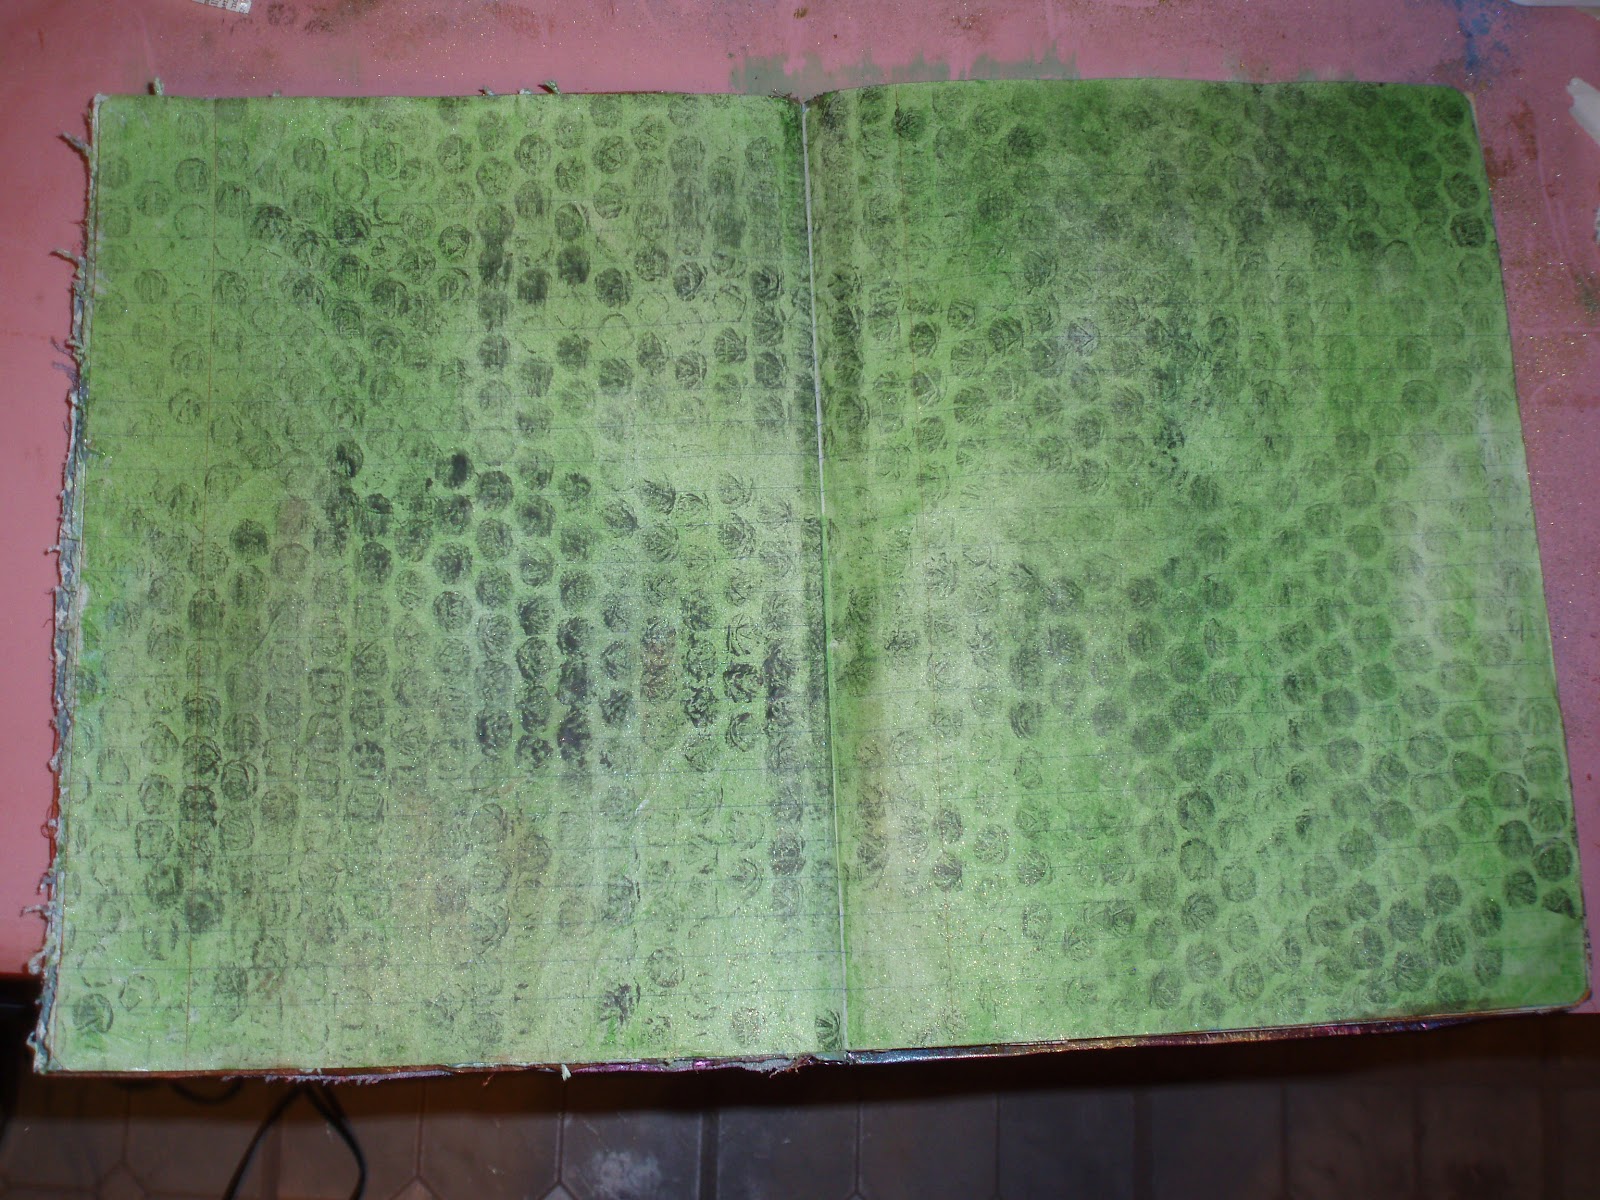
Remember the bubble wrap? This time I used it with embossing glue and sprinkled with black embossing powder: 

Glimmer Mist and gesso. This was meant to be the "negative" version of a page from yesterday, but it did not come out as well as I hoped. I'm going to try something similar soon, but with dictionary paper. So don't think you're seeing double :-):

Hmm...this one did not come out as well as hoped either. Sigh! :-(: 

Ok, since I had two bummers in a row, I decided to include a bonus page. This one is Distress Stains, my Tim Holtz Stamper's Anonymous stamps, and Distress Ink. I kept the stamps on the card in their original position since the card is almost the same size as the paper I was working with. Remember, Distress Ink is reactive. So I decided to make this page interesting by using my mini-misters to spray water on it. See how the ink bleeds through the paper? It also created some water spots where the Distress Stains are. Dried with heat gun (carefully! The other side has embossing powder, lol) and inked around edges with some more Black Soot (Distress Ink): 

Come back tomorrow for more! They just keep getting better :-).

Freda

.

Wednesday, March 28, 2012

Smash Book part 14

Ooh! do I have some goodies for you today! The first page in today's series I took some more dictionary pages  I used one of my favorite stamps inked with emboss glue. I used white embossing powder, and heat gun: This created my resist. Then I sprayed with Glimmer Mist:


Glimmer Mist and Gesso:

Glimmer Mist and Gesso:

Acrylic Paint, favorite script stamp and inked edges with Distress Ink: 


And you get a bonus page today because I messed up with picture taking. This page belongs between 1 and 2 in today's series. On the page below, I used several Distress Stains to create a plaid look:

Come back tomorrow for more! Thanks for looking!

Freda

.

Tuesday, March 27, 2012

Smash Book part 13

I love these pages! :-) This one I started with Glimmer Mist, then took a piece of lace fabric, and rubbed Distress Ink in there:


Comic page of the newspaper, with Distress Stains to age the paper itself, then inked the edges with Distress Ink:

Distress Stains, then stamped with Distress Ink and used my mini mister to spray water. Remember, Distress Ink is reactive; so the ink bled into the paper. Then I inked the edges with the same color in Distress Ink:


Distress Stains with a glue (Mod Podge) resist: I also stained the newspaper clippings with a very light yellow color of Glimmer Mist:

Come back tomorrow for more! Even better looking pages!

Freda

Monday, March 26, 2012

Smash Book part 12

And we're back!

Sorry folks, but sometimes real life takes over. But I promise, it was worth the wait! Below are the next 4 pages in this series. The first photo is basically ripped and distressed paper:


Masking tape and Distress Ink:


Distress stains, Glimmer Mist, and Distress Ink: 


Distress Stains, a stencil, and Distress Ink:


Please check back tomorrow for some more! Thanks for looking!

Freda

.

Tuesday, March 13, 2012

Smash Book part 10

Sorry about not having anything for you yesterday. I thought I had it set up but I was wrong. Below are the next 4 pages. The first one is Glimmer Mist, Glim Glam, Gesso and Acrylic Paint:


This one did not turn out as well as I hoped. I think it may be one of those things where it looks better on card stock. I took a piece of lace, sprayed over it with Glimmer Mist, removed the lace, placed a paper towel over the paper, and used my brayer to soak up the excess. Then I carefully sprayed around the edges with Chocolate Covered Cherries Glimmer Mist but during the process I decided I liked the splattered look:


This is fire brick Distress Stains with Chocolate Covered Cherries Glimmer Mist: 


On this one I used Gesso and acrylic paint blended together and sprayed around the edges (and lightly in the center) with Chocolate Covered Cherries Glimmer Mist. It's rather sticky, even after drying so I'm waiting for some fixatif and matte spray to come in and hope that will solve the problem:


That's it for today. I have a wonder selection and discovery for you tomorrow!

Freda

.

Thursday, March 8, 2012

Smash Book part 6

Sorry for the delay! I've been sick with a cold all week!

The first pic I attempted the ol' lemon juice trick many of us did as kids. To heat, simply use your heat tool. Yes, I know lemon juice is acidic and we try to go with acid free techniques. But I will spray with Krylons "Make It Acid Free" and hope for the best! The left side came out, but the right side not, really. Still, I love the effect:


Torn pages of an old dictionary and inked with Walnut Stain distress ink:


Burlap from Canvas Corp. It comes in two 12x12 pieces sewn together. I separated the two pieces and cut the one so it would fit on my page. There was a little bit of space so I put some more dictionary page pieces in there. I didn't know what I was going to do with the burlap when I began so the dictionary page pieces provided some inspiration. Next, I got out a used piece of my Tim Holtz letters and used it as a mask and sprayed with Glimmer Mist:

Next is canvas, by Canvas Corp. It comes the same way as the burlap discussed above. Only this time I used a scrap piece of DCVW paper with white core I had in my personal stash. It was already punched, Fiskars Leave it to Weaver, which made it all the more ready for me. It was screaming "please use me"! Originally I tore it, but when I saw the white core, I thought 'nah'. Now I wish I kept it that way.

I used a Martha Stewart punch to create a mask for the right side and sprayed with Glimmer Mist using a piece of paper to cover the left side so it too did not get sprayed. That's why I wish I went with my first impression: to tear the paper with the white core because the white core would have gotten colored by the spray. No worries! I can still do that on another page.

Anyway, before the ink could dry I laid a paper towel over it and used my brayer to soak up the excess ink for a soft look. The paper towel bunched up on me which created a look I'll have to try on another page; an unintended consequence, lol. Hmm, maybe I'll go back with my Un-du and try that paper part again (tearing the paper):

thanks for looking! Check back tomorrow!

Freda

.

Friday, March 2, 2012

Smash Book part 5

Here is today's edition! This book is coming along beautifully! The photo below is of my page using acrylic paint. I was going for the shabby chic look:


Acrylic paint and paint dabbers: 

Distress Stains and water. The image on the flip side of the right page is seeping through. Sigh!: 

Distress Stains and pigment ink on an over-sized Sizzix embossing plate: 

Check back tomorrow for more! This album will be finished before you know it!

Freda

.

Thursday, March 1, 2012

Smash Book part 4

Hello everyone! sorry about my silence the last few days. It's been quite busy lately between orders and personal stuff.

Anyway, below are photos of the next few pages of my Smash Book.

Glimmer Mist, Gesso and torn out pieces from a magazine:

What I do when I make a mistake...unwanted scrapbook paper, lol. But I distressed the edges: 

Gelatos, glimmer mist and bubble wrap with Color Box pigment ink:

Perfect Pearls and Distress ink (on edges). Hmm, this one did not come out as well as I hoped. But there was an unintended consequence: everywhere I stamped perfect medium it shows:

And that's it for today! Check back tomorrow :-).

Freda